
How to Create an Editorial Blogging Calendar Using Google Calendar
If you or your company has ever struggled with having regularly posted content in terms of blog posts, maybe it's because there is not a guideline that has been implemented. Also, perhaps there is content, but there is not a schedule when blog posts are posted at the same time on designated days.
How do you fix this problem? You fix this by creating an Editorial Blogging Calendar. An editorial calendar is nothing more than a tool to control publication and ensure that there is regular content that will interest your readers to keep coming back.
Step one: Create a Google Calendar
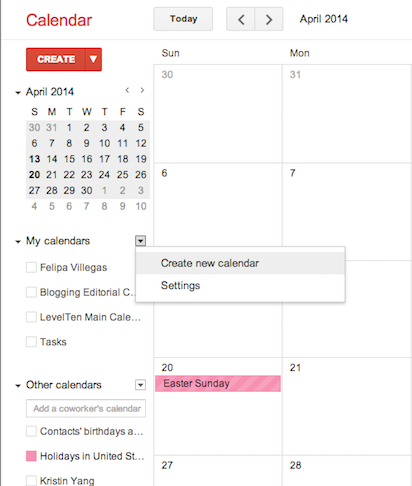
If you don't already have one, create a Google account so you can access Google Calendar. Once you select Google Calendar, on the left-hand side of the calendar's main page it will have a section called My Calendars. Click on the dropdown arrow next to My Calendars and select Create New Calendar.
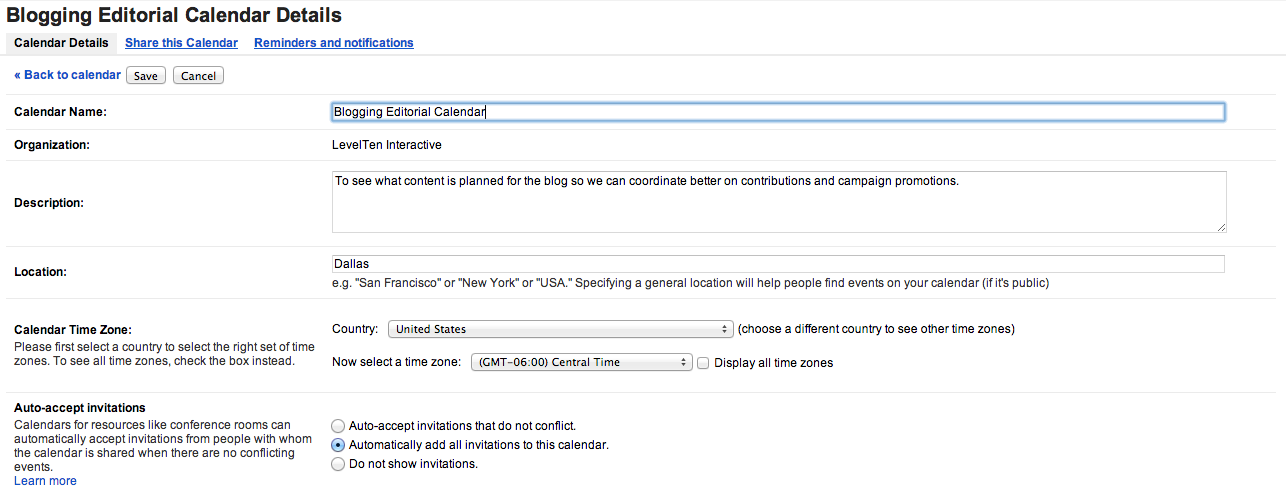
From here, your next step is to enter all the details on what you will call your calendar.
Step Two: Adding events to your calendar
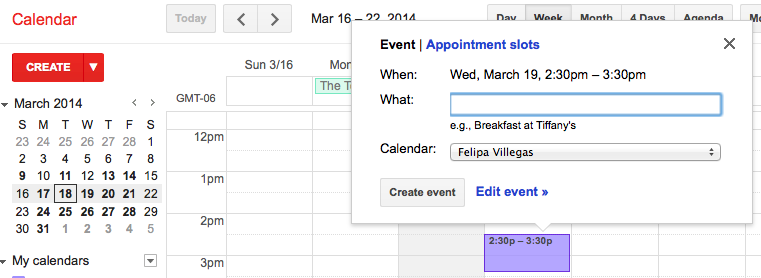
When you have set-up your calendar, you will now want to add dates/events to your calendar. You do this by clicking on the desired date and time you wish to add the event. In this case, you will want to add both national holidays and when you plan on publishing content to your blog.
Once you click on the day and time, you will fill out more detail by clicking edit event. This option will allow you to set it to repeat the event on days you select. For example, if you plan on publishing content Mondays, Wednesdays, and Fridays you can set this for every week.
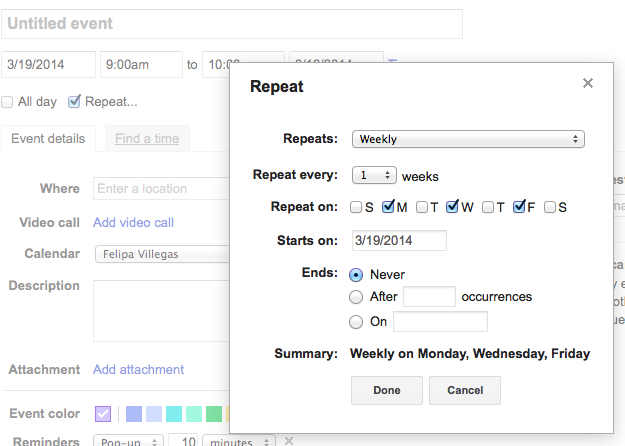
Click done, and you will have your event repeat the days weekly. Each event will allow you to change the name on the calendar once you have come up with a title or subject of your blog post.
Step Three: You are ready to organize your blog posts for the future.
One you have finished with step one and two, you will be ready to invite/share the calendar with your coworkers to see the blog editorial calendar. They will then be able to add possible topics they would like to write about. This calendar will give your blog more structure and direction. It will also allow you to stay on a more consistent publishing schedule instead of a sparse blogging content. More regular content; more regular readers.
Need more detailed instructions besides screenshot? Here's a YouTube video that will get you through the process from Point A to Point B.
What do you use for an editorial calendar? Have better ideas or more questions, let's hear it in the comments below!

