Tuning Drupal Performance on DigitalOcean
This is a follow up article to our last post, How to set up a Drupal site on DigitalOcean.
As with any kind of web application, it’s not just about the functionality the product provides - but how fast we can provide it. With Drupal, the biggest boost in performance as any Drupal developer would tell you, is related to caching. Cache everything, all the time, whenever you can.
Drupal does of course provide it’s own caching services, compressing pages, minifying CSS & JS, etc., but we can do better - so this is where we can implement our own performance enhancements. One of my favorite go-to performance checklists comes from Colan Schwartz Consulting Services, Drupal 7 Performance Optimization Options and Checklist. It’s a great, in-depth, well-rounded post about the various ways we can optimize a Drupal site. We can use tools like Views Cache Bully, APC or OPCACHE, Memcache, and Varnish. I’m going to walk through setting a few of this up and their performance effect on your Drupal site.
1. Set up your Drupal site on DigitalOcean
If you look back at our previous article, we showed you 3-4 different ways you can set up a Drupal site on DigitalOcean. In this performance tutorial, I’m going to use the DigitalOcean application installer. 1) It installs all of our base needs: Nginx, PHP-FPM, MySQL, and even Drush. 2) It’s freaking easy. I also installed the Commerce Kickstart distribution as it has a lot of modules and demo content included for me to test these performance enhancements.
2. Enable Drupal Performance Settings
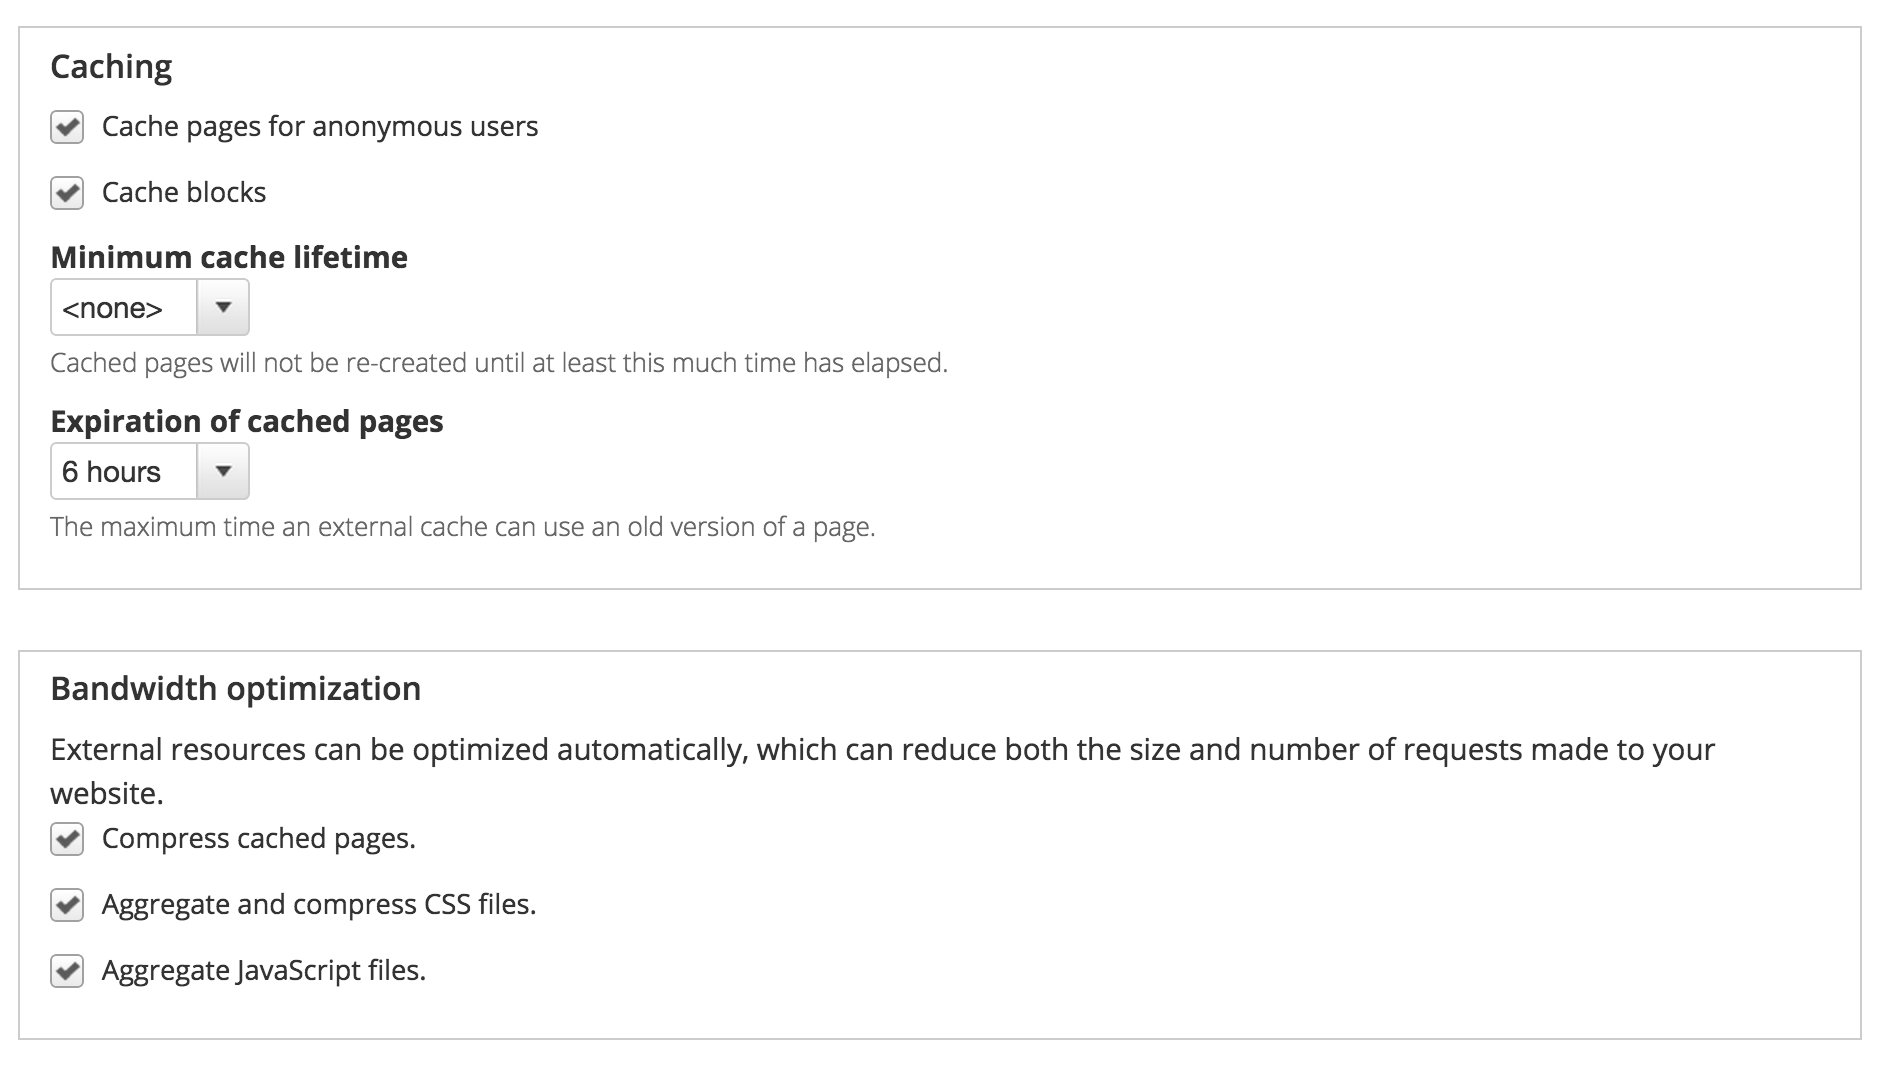
If you go to admin/config/development/performance on your Drupal site, we’re going to enable all of the caching options and aggregate and compress our CSS and JavaScript files. We’re also going to set our minimum cache lifetime to 15 minutes. This means that for all of our pages, don’t re-cache the pages until at least 15 minutes has passed. For more static, brochureware sites, this can be set much higher since the pages aren’t being updated as often. When we use Varnish, we'll actually set the minimum cache lifetime to <none> because we want Drupal to serve the most up to date content if requested.

3. Enable OPCACHE or Install APC
If you’re running < PHP 5.5, you’ll need to actually install APC (Alternative PHP Cache) separately on your server, something along the lines of “sudo pecl install apc”. You can find a great support article on DigitalOcean to do this, How To Install Alternative PHP Cache (APC) on a Cloud Server Running Ubuntu 12.04.
But since we just ran the Drupal application installer, we’re currently running PHP 5.5.9 on Ubuntu 14.04, and OPCACHE is now bundled with PHP 5.5. To enable this, it’s as simple as editing your php.ini file, then restarting php-fpm. The below configuration is taken from the article, Enable PHP 5.5 Opcache on Ubuntu 14.04 with Nginx and PHP-FPM.
Open your php.ini:
sudo nano /etc/php5/fpm/php.ini
Set the following options.
opcache.enable=1
opcache.memory_consumption=128
opcache.max_accelerated_files=4000
opcache.revalidate_freq=60
Now run “sudo service restart php-fpm” and you’ll be on your way. As far as what these settings mean, let’s review really quick from the php.net OPCACHE docs.
- opcache.memory_consumption - The size of the shared memory storage used by OPcache, in megabytes.
- opcache.max_accelerated_files - The maximum number of keys (and therefore scripts) in the OPcache hash table.
- opcache.revalidate_freq=60 - How often to check script timestamps for updates, in seconds.
4. Install and set up Memcache
Surprisingly, PHP 5.5 with OPCACHE and Drupal caching works pretty well and is simple to get up and running, but if want to put the icing on the cake, we can save some stress for our database and enable Memcache, which is a memory object caching system. Memcache works by temporarily storing information in memory that would usually be retrieved from a database meaning the next request is in-memory and incredibly fast without hassling on the database. Memcache doesn’t do too much for you from an anonymous user perspective, but it helps a lot when you have a lot of logged in users.
If you’ve been following along with our current DigitalOcean server, this is incredibly easy to set up. We’re going to pull a bit of info from our own Levelten blog post, Create a high performance Drupal server for just $30 a month. Ironically, we are now building a high performance server for $5 a month (thanks DigitalOcean!)
- Run “sudo apt-get install php5-memcached memcached"
- Install and enable the Drupal Memcache module.
- Add the following to your settings.php.
- Restart php5-fpm.
$conf['cache_backends'][] = 'sites/all/modules/memcache/memcache.inc';
$conf['cache_default_class'] = 'MemCacheDrupal';
# If building a multisite, change the value below for each site.
$conf['memcache_key_prefix'] = 'something_unique';
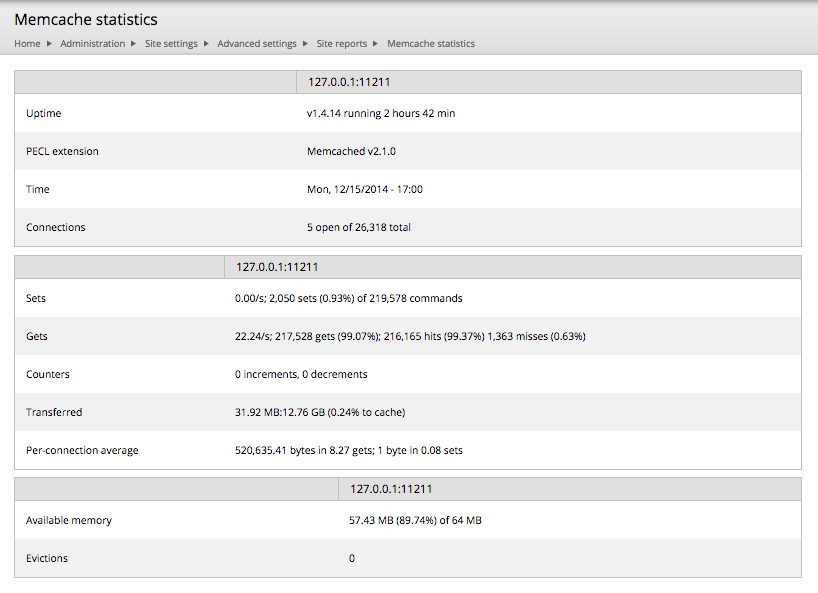
If you enable the Memcache Admin submodule, you can also see how much is being stored by Memcache.

5. Install and set up Varnish
To reduce the number of requests Nginx has to serve up, Varnish sits between the server and the rest of the internet serving up static content directly to the requestor instead of having the server process the same request over and over again. Of course in this context, ideally we would want to separate Varnish from the server where Drupal is hosted, but nonetheless - we’re just experimenting here, so let’s have some fun!
For this section, if you’re running Apache or want a better idea of how Varnish works, read this DigitalOcean article, How To Configure Varnish for Drupal with Apache on Debian and Ubuntu, but I’ll be referring to our very own Levelten article that I mentioned above. Varnish is very easy to get up and running.
- Run “sudo apt-get install varnish”. Simple, right?
- It should be running once the install finishes, so check the version by running “varnishd -V”. I’m currently running 3.0.5.
- Adjust /etc/default/varnish and /etc/varnish/default.vcl according to the blog post.
- Download and enable the Varnish Drupal module.
- In the Varnish admin settings (admin/config/development/varnish), change the Varnish version accordingly.
- Add the following to your settings.php.
$conf['cache_backends'][] = 'sites/all/modules/varnish/varnish.cache.inc';
$conf['cache_class_cache_page'] = 'VarnishCache';
$conf['page_cache_invoke_hooks'] = false;
$conf['reverse_proxy'] = true;
$conf['cache'] = 1;
$conf['cache_lifetime'] = 0;
$conf['page_cache_maximum_age'] = 21600;
$conf['reverse_proxy_header'] = 'HTTP_X_FORWARDED_FOR';
$conf['reverse_proxy_addresses'] = array('127.0.0.1');
$conf['omit_vary_cookie'] = true;
At this point in time, you should be pretty good in terms of the set up. While I was installing Varnish in Drupal, I did come across a couple errors, and I’ll tell you how I addressed them.
The Varnish control terminal is not responding at 127.0.0.1 on port 6082.
To fix this error, it as actually a little secret. No really, it’s a secret. Varnish creates a file located at /etc/varnish/secret, all you need to do is paste the contents of that file into “Varnish Control Key” in the Varnish config page.
Notice: Undefined offset: 1 in theme_varnish_status() (line 264 of /var/www/html/drupal/sites/all/modules/varnish/varnish.module).
This is caused by some issue once you update to Drupal 7.33 and has been documented in the Varnish issue queue. There is a patch at https://www.drupal.org/node/2371907 you can apply pretty easily, and hopefully it’ll be committed soon.
What’s the performance difference?
I’m glad you asked. Our friends over at BlazeMeter have an amazing product that helps you load test your own sites. On a free account, you can run up to 10 tests with 50 concurrent users hitting multiple pages on your site. To make it even easier, they even have a Drupal module to help you get started. I’ve used this before in a previous post of mine, Best Bang for No Bucks: A Comparison of Free Drupal Hosting Platforms.
At each step of this article, I ran a BlazeMeter load test totally 3 load tests. No caching, Drupal Caching + OPCACHE, and Memcache + Varnish. Below is a comparison of all 3 results. As you can see, if anything else, some caching is better than no caching. Surprisingly, Drupal Caching + OPCACHE does a pretty good job at serving up pages, but then again we only tested 3 random pages on the site. Overall, Memcache + Varnish had the lowest average response time, and I would love to even see the results with authenticated users as that’s Memcache’s time to shine. You can see all of the results in our Google Spreadsheet.
| Active Users | No Cache | Drupal + OPCACHE | Memcache + Varnish |
| Avg Response time (sec) | 2,076.78 | 561.77 | 546.15 |
So that’s it, how to add additional performance enhancements to your DigitalOcean Drupal site. A lesson learned, if anything else, enable Drupal caching + OPCACHE and you should have a good base line of defense. What are your preferred caching methods? Lets us know in the comments below.

