
How to set up a Drupal site on DigitalOcean
If you haven’t heard of DigitalOcean yet, I definitely recommend it as a web developer. DigitalOcean is a "simple and fast cloud hosting provider built for developers,” which basically means pure awesomeness. You can spin up a cloud server in 55 seconds starting at just $5 a month. 20 GB SSD, 512MB of RAM - five bucks, that’s it. They have a number of applications you can pre-install as well. Want to host your own Dropbox? Try out OwnCloud. Maybe you need a Ruby on Rails environment, they have you covered. If you’re a developer looking for a new VPS or sandbox environment, or even a tech savvy business owner looking for cheap hosting - DigitalOcean is it.
Some of you might ask, "Why would I use DigitalOcean over a shared hosting service like BlueHost?” There are a number of advantages of using a VPS or cloud service over shared hosting, mostly because you have the ability to control exactly how your server is set up, and tune the performance exactly how we want it. But of course, this is also the downside - you need to be a bit technical and not afraid of using a terminal. If you can do that, you'll be just fine.
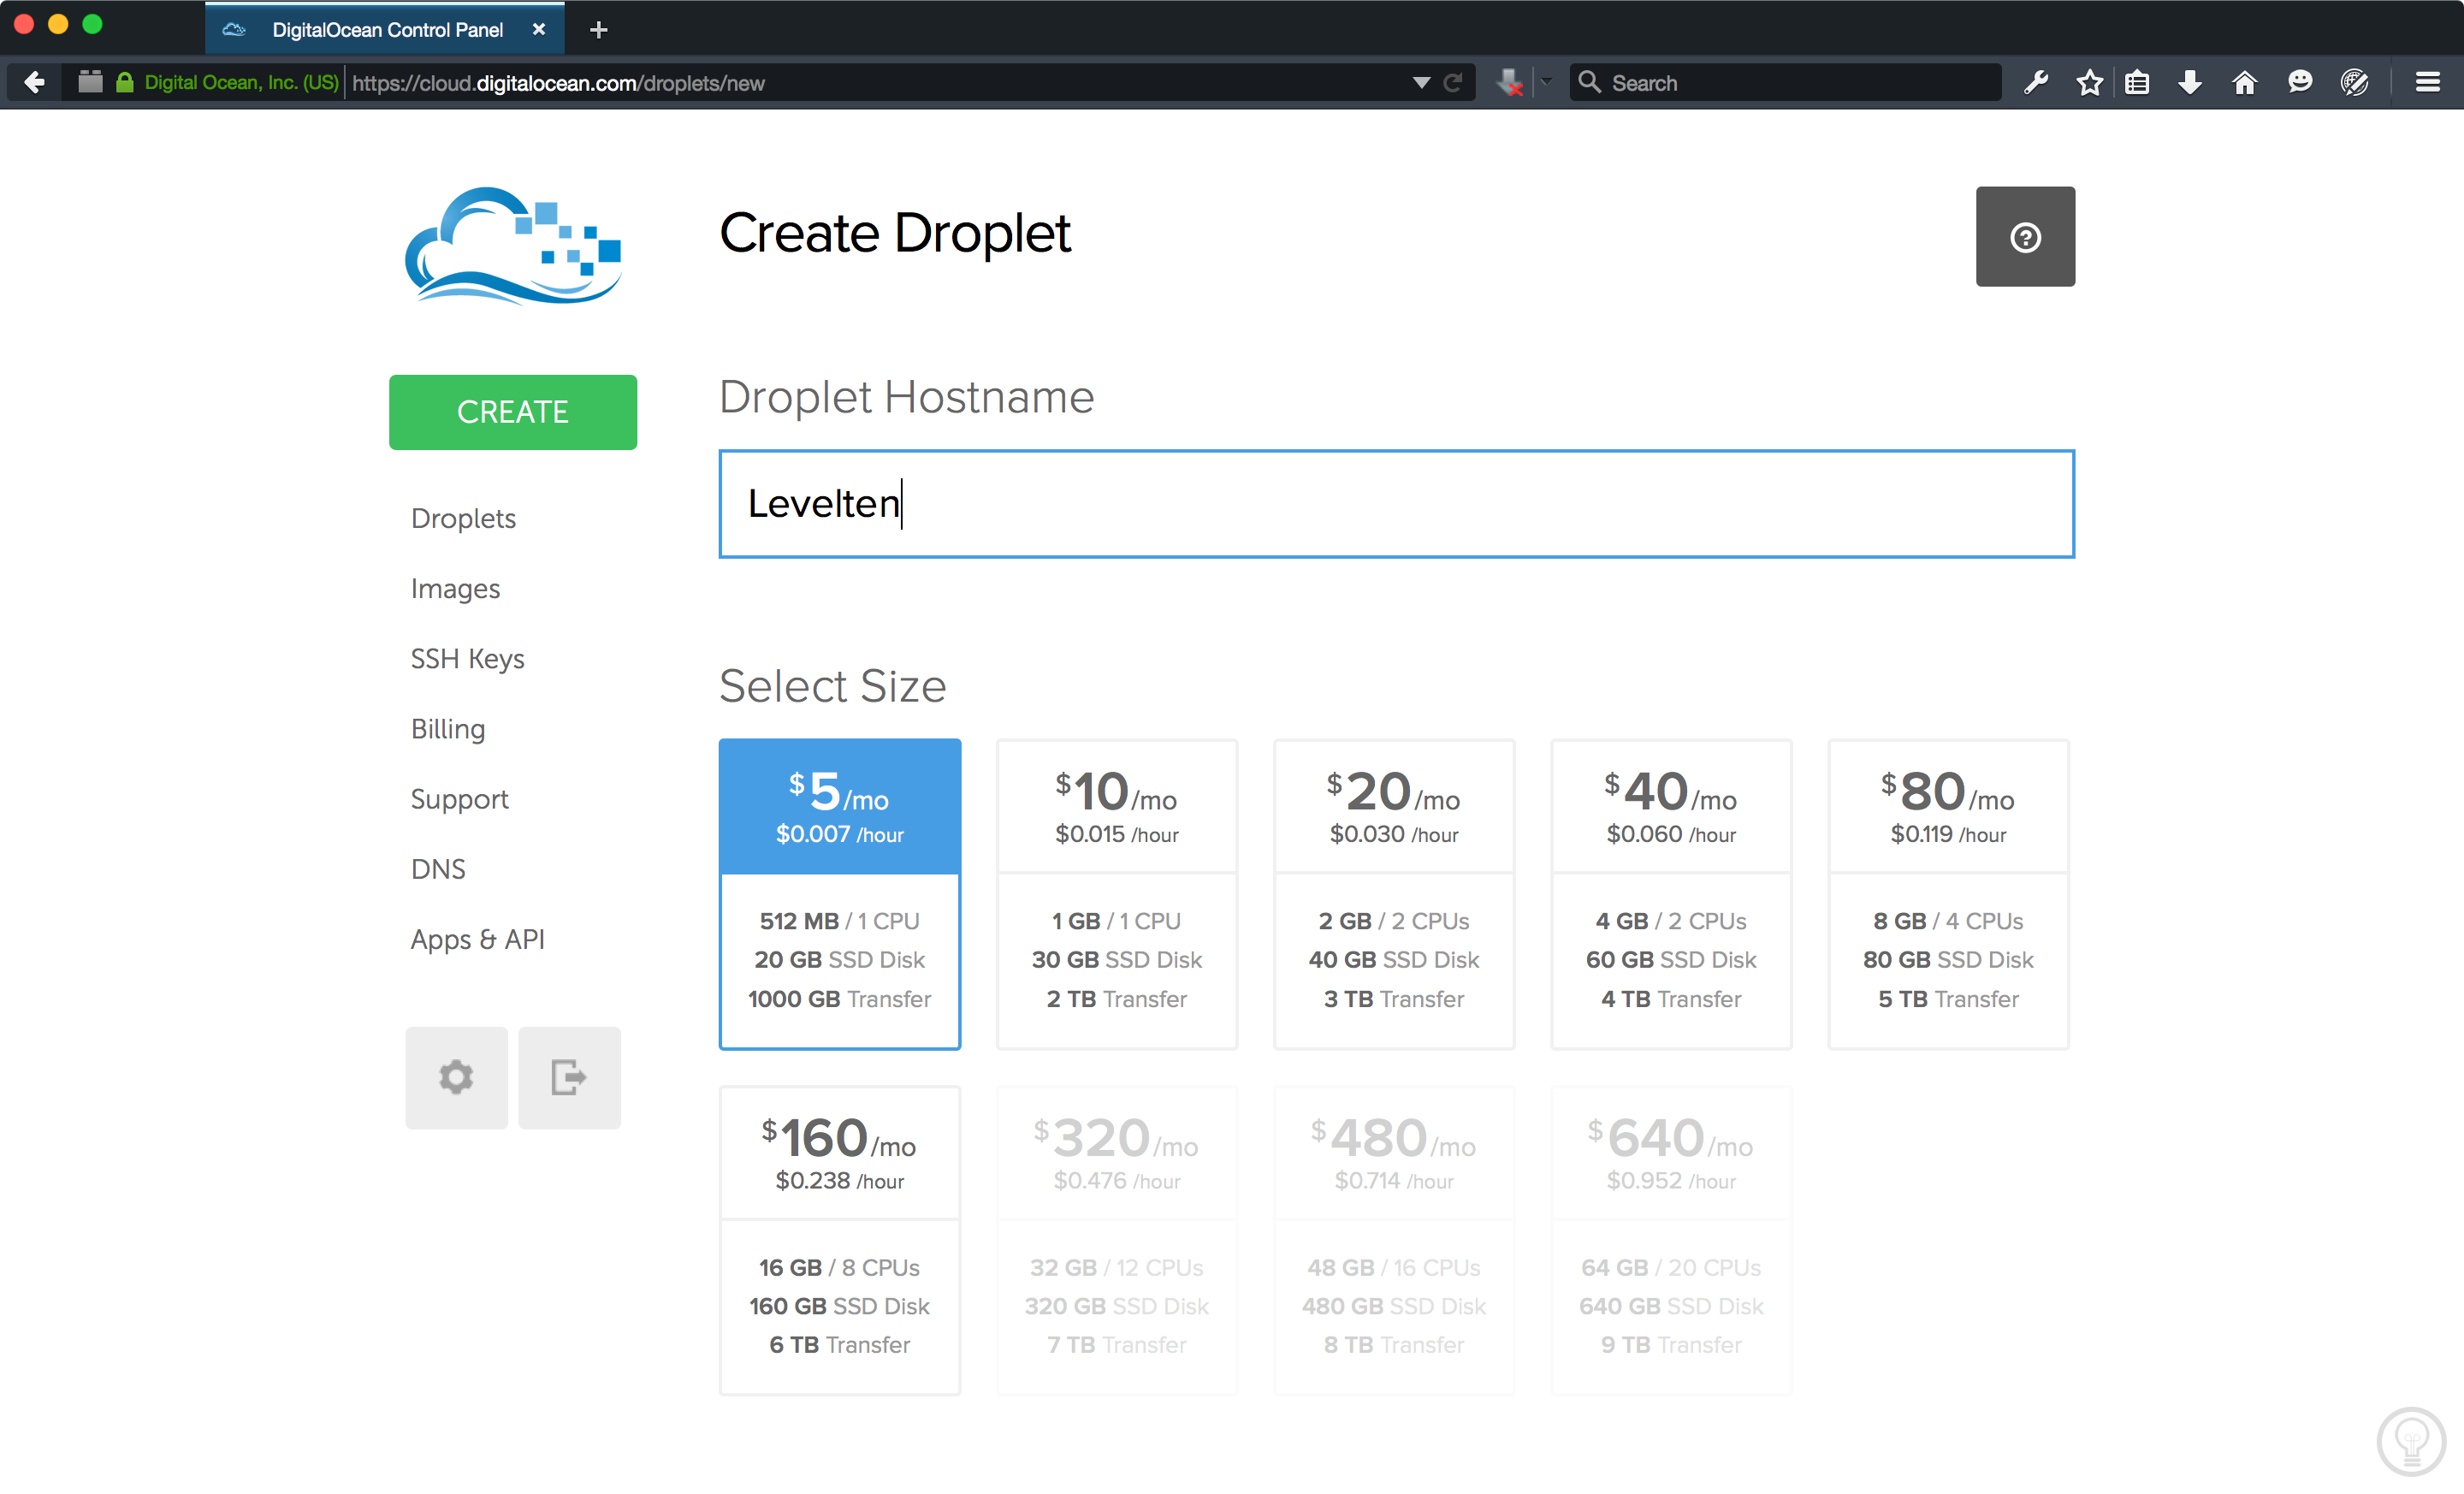
DigitalOcean is an incredibly powerful cloud platform, which is surprisingly easy to use. You create a “Droplet” which is essentially your server instance. You can take snapshots, backups, and even restore your recently deleted droplets (maybe you screwed up, started over, then realized the first one was better than you thought). But the best part of DigitalOcean is the amount of control you have, and the vast number of options you have to spin up your server. Not only does DigitalOcean provide five different flavors of Linux distros (Ubuntu, Fedora, Debian, CoreOS, and CentOS), but also a huge number of application images, including Drupal on Ubuntu 14.04. Well, that was easy, wasn’t it?
That’s not the only way to install Drupal on DigitalOcean, and there are a number of ways, but I’m just going to go over my top 3 ways to deploy a Drupal site on DigitalOcean.
1. Drupal One-Click Install
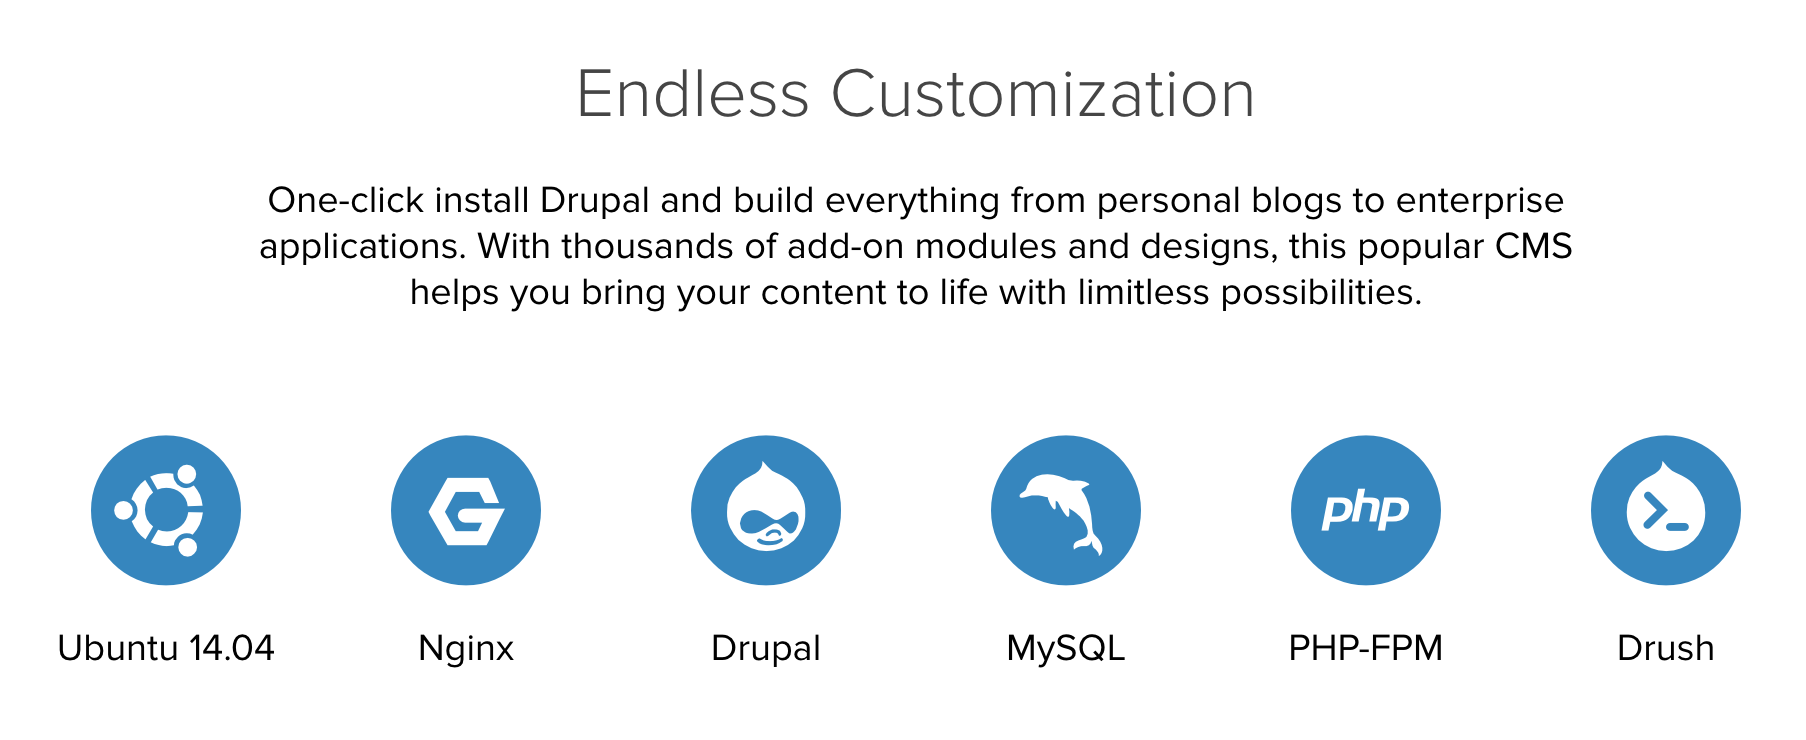
Imagine that, DigitalOcean making something even easier for you to use. You can use their one-click Drupal installation which uses Nginx, php-fpm, and MySQL on Ubuntu 14.04 x64. It also has enhancements like enabling PHP 5.5 opcode cache, using php-fpm and Nginx to ensure a solid performance. They even have another surprise for you - it also comes with Drush pre-installed. Everyone dance! Within 2 minutes, you can create your Drupal droplet and get up and running in no-time.
2. LEMP/LAMP stack
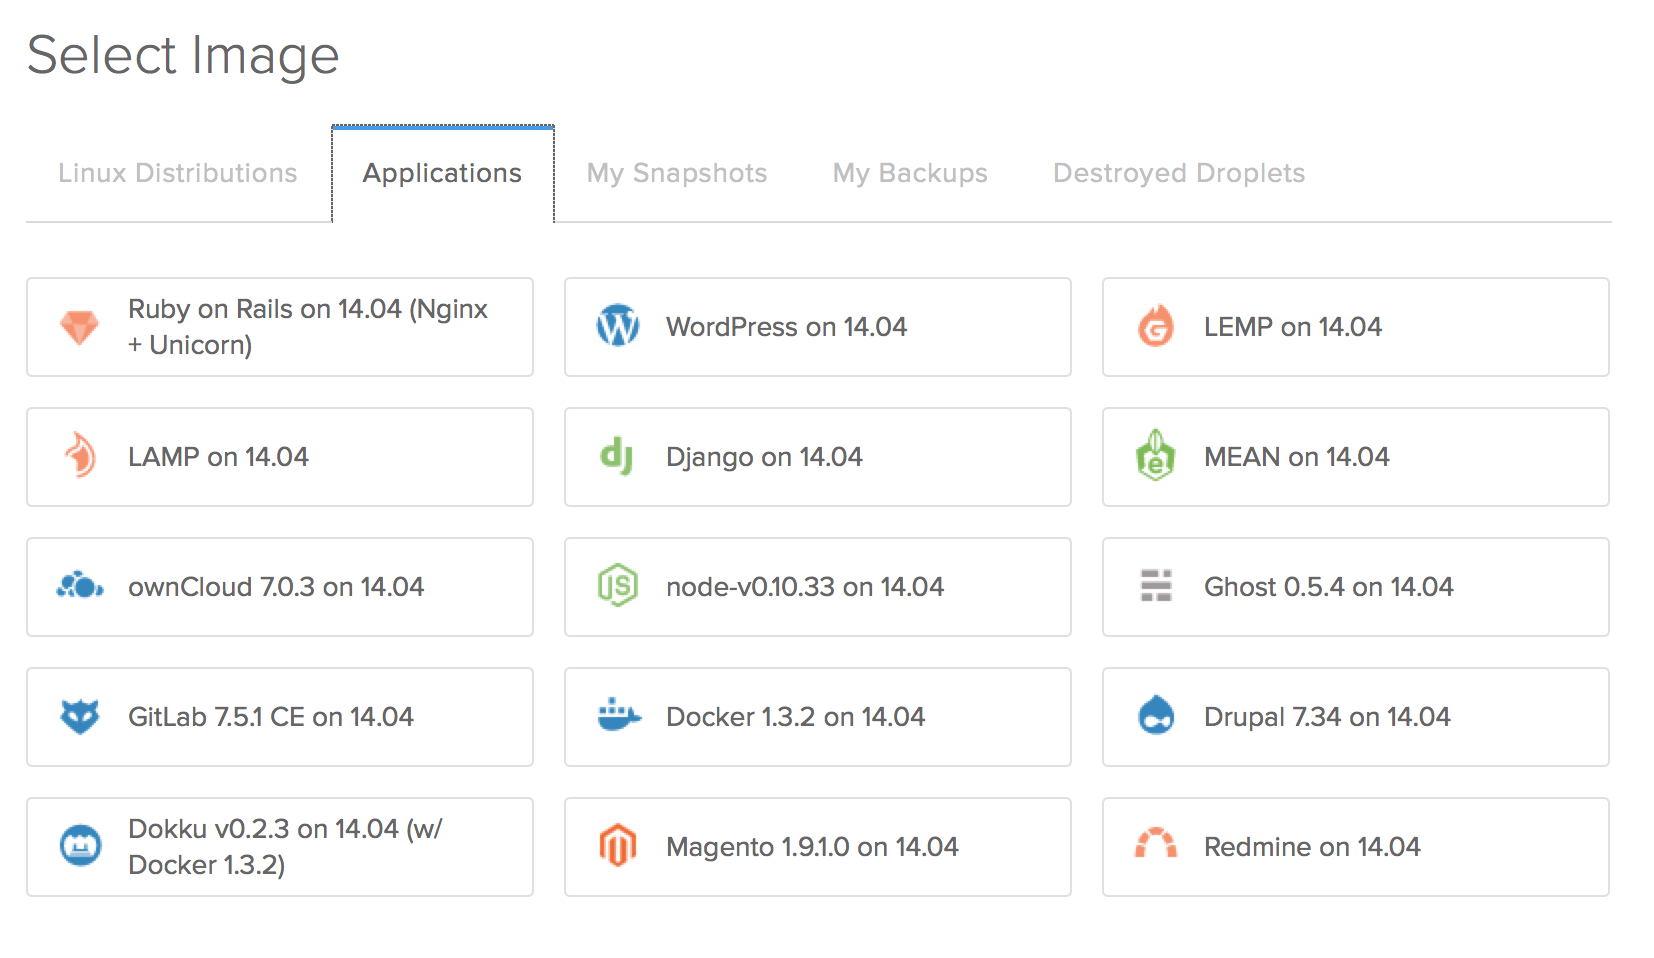
If you want a bit more control over your installation, you can opt to use the LEMP or LAMP stack installers. Once installed, you’ll have to either drop your Drupal installation into the web root, or if you plan on setting up multiple sites, you can start setting up your Nginx virtual hosts (server blocks). The nice thing about the 1-click Drupal install is it uses the Drupal-recommended Nginx config settings so you don’t have to worry about it. If you don’t have a copy, you can grab an Nginx config from Perusio on Github.
3. Roll your own stack
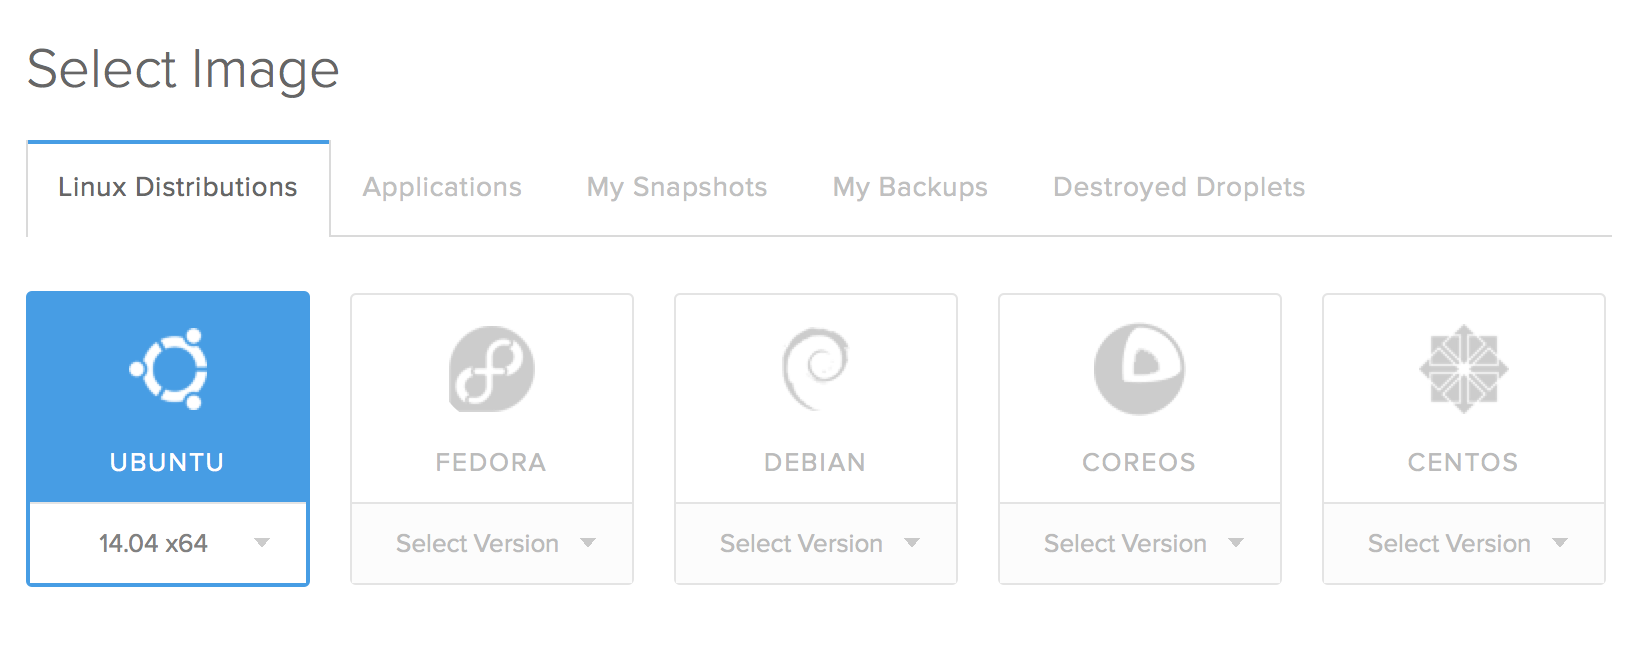
This is definitely more for you hardcore performance geeks. I understand, I’ve been there. Maybe you want to use MariaDB or Percona over MySQL, or set up Varnish and Memcache/Redis at the same time. Perhaps Ubuntu isn’t your style and you prefer YUM over APT. The first two options don’t set up caching options, which plays a big part in Drupal performance, so this is always an option. The last time I did this, I spent a solid 8-10 hours reading DigitalOcean documentation on how to set up a pristine web server. On the bright side, they have some of the best documentation I’ve ever seen, so there’s still hope for us yet.
4. Bitnami
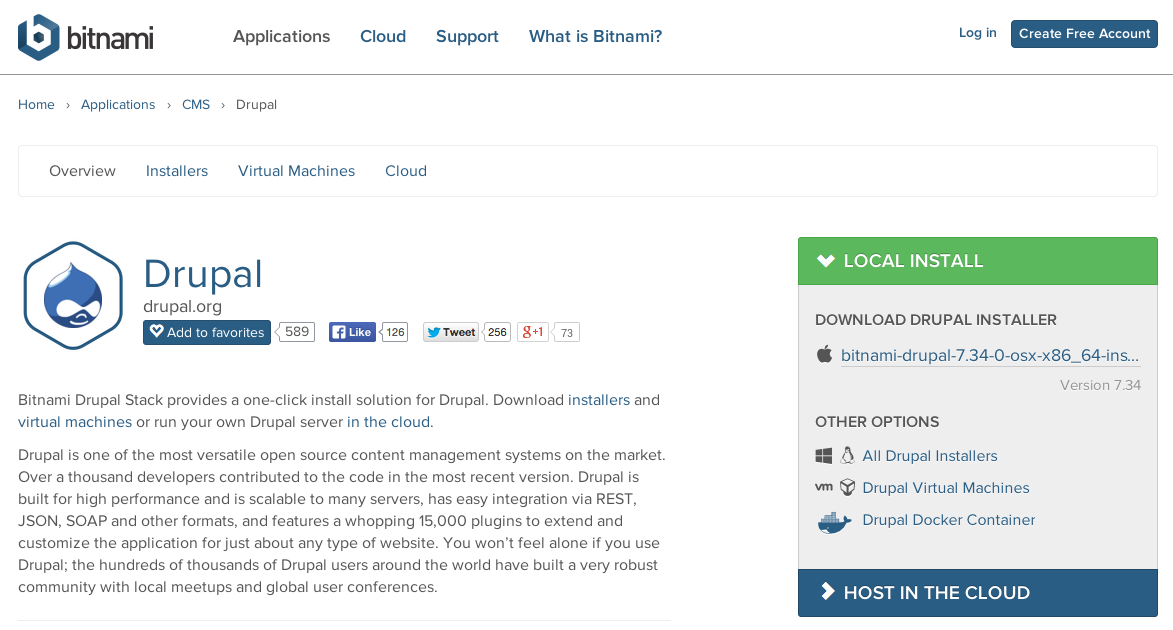
If you haven’t heard of Bitnami yet, I would definitely recommend checking them out. Bitnami is a library of server applications that are installed with one click, either locally or hosted in the cloud. You can use it on your laptop/desktop, virtual environments, (VMWare or Virtualbox), and now even Docker. For DigitalOcean we would install just Ubuntu, download the correct Linux version, and run the Bitnami installer in the terminal. The cool thing about Bitnami is that they allow you to install these packages on multiple platforms like Amazon, Azure, and now Google Cloud. The weird thing is that since these packages are self-contained and don’t interact with other programs on the system, there are a few nuisances:
- It can be a little confusing to navigate through the folder structure.
- Drush doesn’t seem to work anymore.
- Connecting to MySQL remotely can be challenging.
To sum it up, I think my favorite way right now to set up a Drupal site on DigitalOcean is using the one click application installer. It’s fast, efficient, and then we can tack on our own performance enhancement tools as well. Maybe in a follow up post we'll set up our instance and go through a few of the additional tools we can use to make an amazing for just five bucks. Read my previous blog on this same subject: Best Bang for No Bucks: A Comparison of Free Drupal Hosting Platforms.
Want to try out DigitalOcean for free? Use our (shameless) referral and get $10 in credit. Let us know if you're impressed with their platform in the comments below.

