Setting Up the Rackspace Cloud to Send Drupal Emails with SendGrid
Moving Drupal website clients to cloud hosting has been great as they're able to get high performance, scalable capacity at a pretty reasonable rate. However, we have discovered when clients offer an email sign-up, the emails that are generated from the cloud-hosted Drupal website are often rejected as spam. For those clients who have chosen the Rackspace cloud, here is a step-by-step solution to the problem.
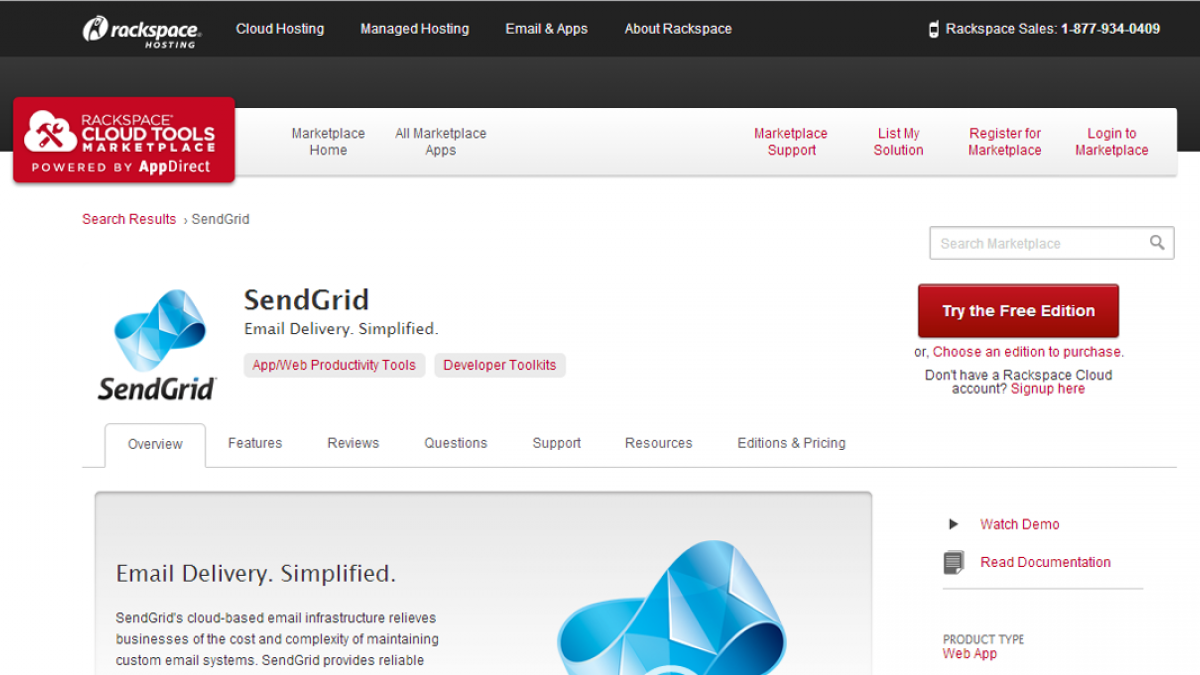
To begin, you'll need to login to the Rackspace Cloud Tools Marketplace with your Rackspace Cloud username and password. Install the free SendGrid app; this will connect the Sendgrid email system to your cloud account. When you install the SendGrid app, you'll see a large link that says try the free edition. Click that box and then input your email address. An automated reply will be sent to you where you can create your SendGrid account using the Rackspace Cloud. Complete your registration and keep your SendGrid username and password handy.
Next, you'll need to install and configure the SMTP Authentication Module on your Drupal site for SMTP support. Once you've got the SMTP module installed, configure the SMTP Authentication with the following settings:
- SMTP Server - smtp.sendgrid.net
- SMTP Port - 587
- Use Encrypted Protocol - No. If you want encryption choose “Use SSL” and set SMTP Port to 465
- Username - SendGrid Username
- Password - SendGrid Password
Once that's complete, you should be ready to send emails off your Rackspace Cloud server. You can test the setup using the test email box at the bottom of the configuration page and hitting save.
For more information on how to get SendGrid setup with Drupal, be sure to visit the website directly.
Have any questions about this tutorial? Leave us a comment below!

